How Taperat works, one step at a time.
From your first folder to a trimmed timeline in your editor. Pick a guide or read it top to bottom.
Add your recordings
Bring in the folders you already have. Nothing is moved or copied.
- 1
Scan a folder
Choose Scan folder and point Taperat at your recordings. It indexes every video right where it is.
- 2
Or drop files in
Drag recordings onto any folder in your library.
- 3
Organise your way
Create folders and subfolders, move recordings between them, and switch between grid and list.
- 4
Catch new recordingsStudio
Game capture detection watches your recording folder while you play and adds new recordings as they appear. Name and tag them from the overlay, without leaving the game.
Good to know. Recordings can stay on any drive, including external and network storage. The overlay uses no game hooks or injection.




Create transcripts
Turn speech into searchable text, on your PC. Included in every plan.
- 1
Pick a speech model once
Taperat downloads it for you. Smaller models are quicker, larger ones more accurate. The largest is about 3.1 GB.
- 2
Transcribe
Choose recordings and start. The job runs in the background on your processor; no NVIDIA card needed.
- 3
Search every word
Type a line you remember and jump to the moment it was said.
- 4
Fix what it misheard
Edit words, split or merge lines and change who is speaking. Every edit can be undone.
Good to know. Closing a window doesn’t stop a job. Open Activity (Ctrl J) to see what is running.
Run the Perception EngineStudio
Let Taperat work out who is talking, what is on screen and what happens in every scene.
- 1
Choose what to analyse
Pick recordings and tell it what kind of game it is: story, multiplayer or everything.
- 2
Let it run
It listens, reads the screen, including names and player nicknames, tells voices apart and indexes every scene, all on your PC.
- 3
Answer a few questions
When it isn’t sure, it asks, like “Is Speaker 2 Elara?”, and shows why. Keep it or say Not this.
- 4
Use what it found
Speakers get names, transcripts get fixed, and characters, places, quests and scenes become searchable. Proposed slices wait for you.
Good to know. Nothing it finds enters your library until you keep it. It also flags lines that were probably never said, like a stray “Thanks for watching!” over music.
Save slices
A slice is a named moment: a start and an end in a recording or session. No video is copied.
- 1
Open a recording or session
Double-click it in your library. Search results open right at the moment.
- 2
Mark in and out
Press I at the start and O at the end. Step frame by frame for precision.
- 3
Save it
Press Enter. Add a title, tags, a collection, a colour and a description.
- 4
Reuse it anywhere
The slice stays in your library for every future project. Changed your mind? Adjust the range and press U to update it.
Good to know. Free plan: up to 150 slices. Studio: unlimited.
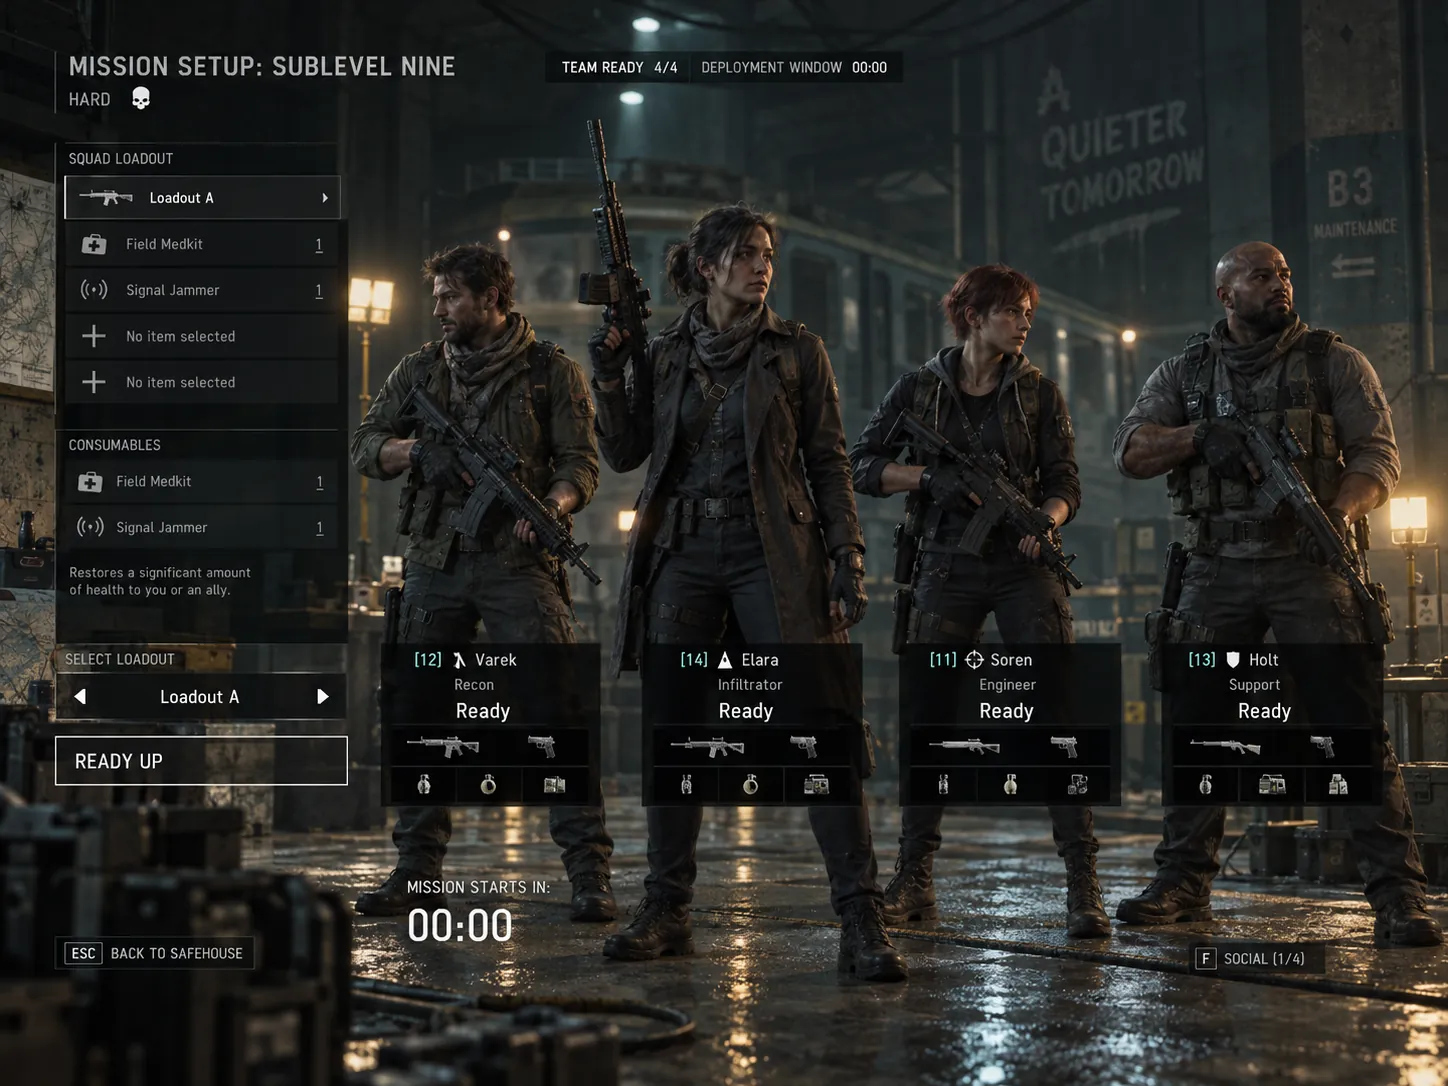
Sessions and markers
Work with a whole evening of recordings as one timeline.
- 1
Pick the recordings
Choose compatible recordings from any of your folders.
- 2
Create a session
They line up on one timeline. No new video file is made.
- 3
Mark what happened
Press M to drop a marker for a chapter, a quest or a thumbnail idea. Save slices that cross from one recording to the next.
Good to know. Free plan: sessions of up to 10 recordings. Studio: any size. Just need one video? Open a single recording; no session required.
Send to your editor
Hand slices to DaVinci Resolve Studio or Adobe Premiere Pro with their exact in and out points.
- 1
Get your editor ready
Resolve Studio: open a project and set External scripting using to Local in Preferences → System → General. Premiere Pro: version 26.3 or newer.
- 2
Choose what to send
One slice, several slices, a marked range or a whole recording.
- 3
Send slice to editor
Choose a new timeline or insert at the playhead. The clips arrive trimmed and ready to edit.
Good to know. Your originals are never touched. The editor reads them straight from where they are.
Export clips
Make a separate video file when you want to share a moment.
- 1
Choose Export clip
From a slice or from a marked range.
- 2
Pick a format
Original keeps the source quality, without re-encoding when possible. VP9 and AV1 make smaller files.
- 3
Pick a shape
16:9 for wide screens or 9:16 for phones, with a blurred or black background behind vertical clips.
Good to know. Exporting creates a new file. Your slice and your original stay as they are.
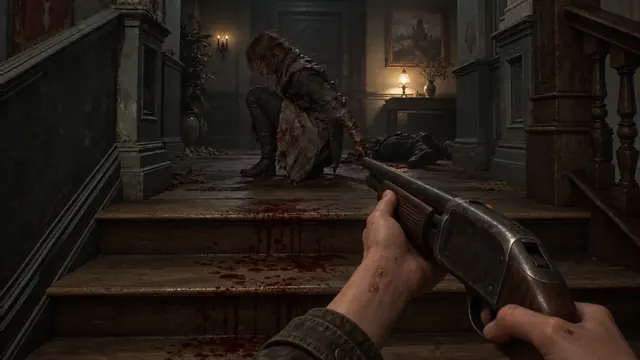
Find clips with your AI assistantStudio
Ask an assistant to go through your recordings, save the scenes you want and line them up for your editor.
- 1
Prepare your recordings
Run the Perception Engine first, so the assistant can read transcripts, speakers and scenes.
- 2
Connect MCP Bridge
Add Taperat’s MCP Bridge to an assistant that supports local MCP connections. Taperat doesn’t include an assistant.
- 3
Ask for what you want
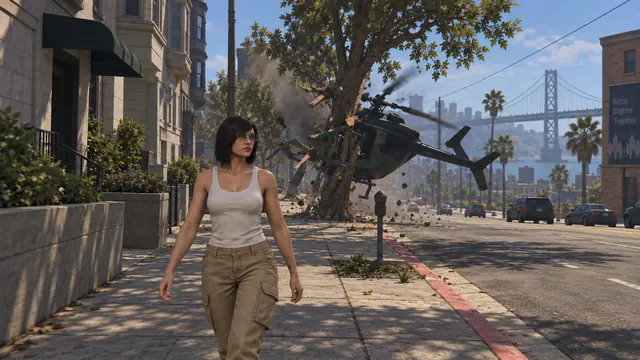
“Find every scene with Elara and the helicopter crash, save them as slices and put them in a collection.” Ask for a short list first if you like.
- 4
Check its work
Slices the assistant cuts are marked as such, so you can review them before you use them.
- 5
Feed your editor
Select the collection’s slices and send them to Resolve or Premiere in one go.
Good to know. The Perception Engine and the bridge run on your PC. A cloud assistant may send the text and images it requests to its provider.
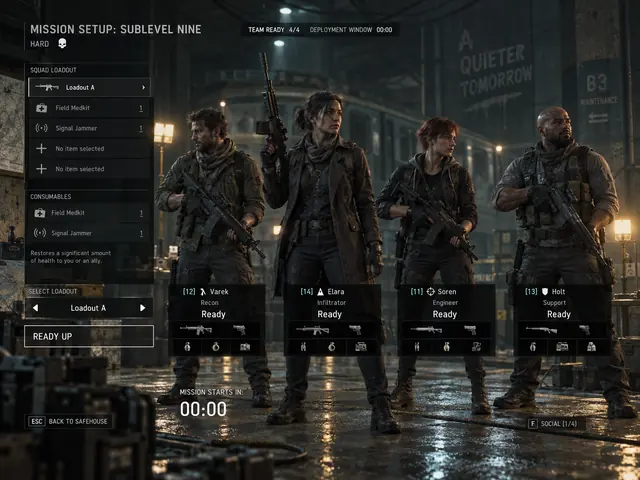
Teach it who’s speakingStudio
Voice fingerprints help Taperat recognise people across all your recordings.
- 1
Mark who is speaking
Name a speaker once, or confirm when Taperat asks.
- 2
It remembers
Taperat keeps a voice fingerprint, never a recording of the voice.
- 3
It gets better
Every confirmed line makes the fingerprint more reliable.
Good to know. Fingerprints are made and stored on your computer.
Your files are safe
- Taperat only reads your recordings. It never moves, renames or edits them.
- Deleting a slice asks twice, and deleted slices can be recovered.
- Proxies for smoother playback are made only when you ask, and stored with your library.
Handy keys
- I
- Mark in
- O
- Mark out
- Enter
- Save slice
- U
- Update slice
- M
- Drop a marker
- /
- Search the library
- Ctrl F
- Find in the transcript
- F2
- Edit words
- Ctrl Z
- Undo
- Ctrl J
- Activity